Any and all advice, guides, and reviews are unbiased and based on my personal experience. If you buy through affiliate links, I may earn commissions, which helps support my website. This does not have an impact on posts or my opinion of any reviewed products. If you find this post helpful and want to say thanks, please buy me a coffee or take a look at my book on Amazon. It keeps this page ad-free. Thank you!
2025 REMARKABLE PAPER PRO MOVE
Remarkable just announced the Remarkable Paper Pro Move
A new, smaller, more portable, full-color Remarkable.
Read the first review, first look here!
If you own a Remarkable 2, one of the other fun things about them is you can hack and customize the software. If you really want to give your Remarkable 2 a personal touch, then I recommend customizing the sleep screen. This is easy to do and doesn’t require confidence in using shell commands, there’s a 100% free app called Notable Utility by Dave Skelly that makes this a breeze! Thanks Dave! Check out Dave’s website for some other cool stuff.
Update. Notable Utility is now available across devices including for Windows and MacOS. You may be better off doing this on a PC, as Remarkable changed how you can connect to the device via WiFi.
Remarkable 2 Sleep Screen Dimensions / Size
The specs/dimensions of the Remarkable 2 Sleep Screen are 1404px x 1872px.
The file format is PNG.
For those slightly more technical, the sleep screen is stored in the /usr/share/remarkable location on your Remarkable. But if you use Notable, this isn’t something you need to worry about. Again, you don’t need to know this – but there will be people like me who read this who will want to know.
Guide on how to install a custom Remarkable 2 Sleep Screen
This works for me and I am currently doing this on Remarkable OS 3.22.064. Software updates can reset things, so bookmark this page in case you need to reinstall the custom sleep screen.
- On your device of choice, download the Notable Utility. I’m using iOS for this example, but the instructions are similar across any device.
- Make sure your Remarkable 2 and your device are connected to the same WiFi network, then on your Remarkable go to Settings -> General -> About -> Copyright and Licenses.
- On the lower right-hand side of your Remarkable Screen you will see the password for your Remarkable in bold and below that, the IP address of your Remarkable.
- Start the Notable Utility, tap the connect icon and enter the IP address, the username ‘root’ no quotes, and the password. Remember passwords are CaSe SeNsItIvE.
- Tap ‘Test Connection’. If you entered everything correctly, you should get a green tick and success. If it fails, make sure your Remarkable is not asleep and check you entered everything correctly.
- If everything was a success, tap the Screens icon, then tap Choose Image. You can either:
-
-
- Choose an Image from your device
- Load an Image from a URL
- Use a Community Image (there’s a great selection of Community Images)
-

TIP: The Notable Utility automatically backs up the original sleep screen (thanks Dave!)
- If you’re keen to see what all the fuss is about, test with one of the Community Images, in which case you need to tap Download on them to copy them to your device. Or feel free to use my custom sleep screen.
- After you have selected your image, click the back arrow (top left).
- There isn’t any real need to change the Orientation, Image Alignment, the “Which Screen” should be left at Sleeping – but you can (if you get motivated) customize all the ‘sleep-related’ screens e.g. Battery Empty, Starting, etc.
- If you want to add your details to the sleep screen (i.e. not hardcoded into the image), check the “Add contact details background” option. The contact details are taken from the Remarkable directly Settings -> Security -> Personal Information. I have hard coded my details into the image I use, just to get a nicer effect.
- Tap Save to Device.
- You’re done!
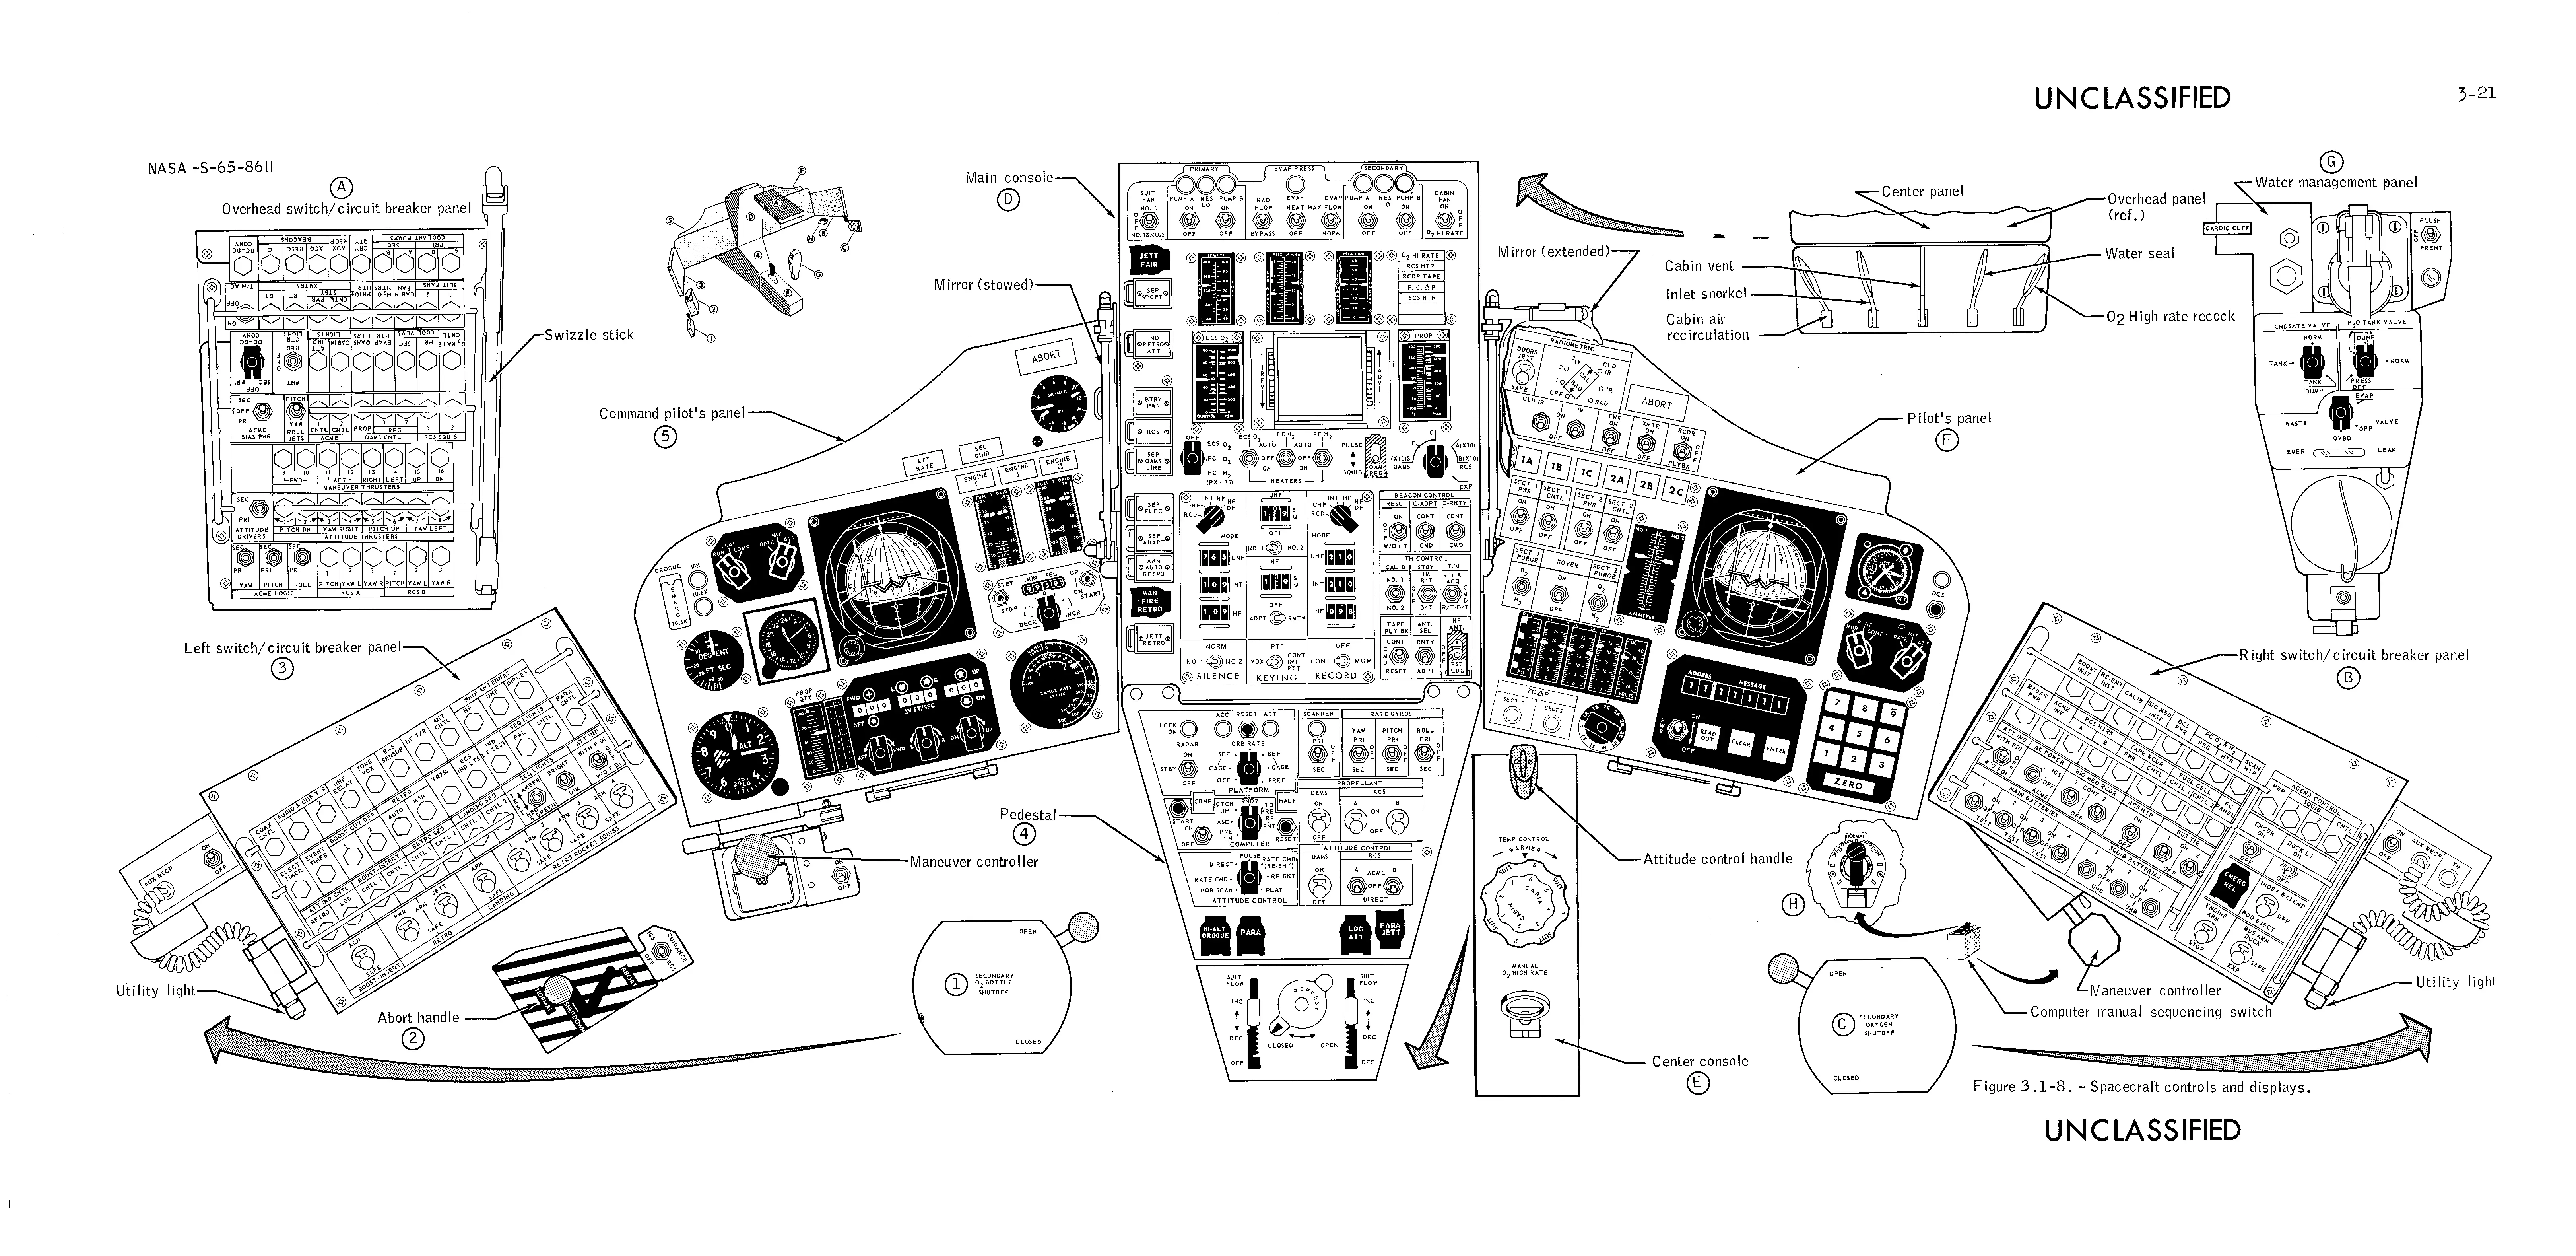
My custom Remarkable 2 Sleep Screen is the schematics of the Gemini Command Module. I hardcoded my name and contact details onto the image using a Dymo inspired font. But giving back to the community, here’s a version that just says “Remarkable is Sleeping”. I also uploaded it Notable Utility, so you should be able to find it there.

Lost Your Original Remarkable Sleep Screen
Notable Utility makes a backup of the original screen but if you did something went wrong or something happened, don’t worry I got you – here’s the original screen. Open this in a new browser tab and send yourself the link to use in the Notable Utility.
Useful Links/Design Advice
To make the Remarkable Sleep Screen I am using in this blog post, I used the following resources:
- schematics of the Gemini Command Module Panels.
- added a layer with a torn piece of paper looking overlay so I could add a custom label
- font for sleeping or adding your name uses a Dymo label maker inspired font called Impact.
- image editing was done with Pixelmator, but if you’re after a free online alternative try Pixlr.
Hope this helps someone else. If you enjoyed this blog post and love your Remarkable, you may want to try the Remarkable Eraser hack.
Want More Remarkable Advice?
Want to get more out of your Remarkable tablet? You may find these other Remarkable and Remarkable Paper Pro guides that I wrote useful.
Remarkable 2
- Looking for a replacement or alternative Remarkable Pen, reviews and comparison here.
- Updated 2025 Guide! Want to be able to use the button on the LAMY or Kindle Scribe pen on your Remarkable, learn how here.
- Want to Customize Your Remarkable Sleep Screen? It’s incredibly easy! Learn you to use the free Notable Utility.
- If you’re after a guide on the best Remarkable 2 case alternative, click here.
- Want a free Remarkable 2025 calendar, get it here! 100% free and easy to use!
Remarkable Paper Pro Move
- the 2025, Remarkable Paper Pro Move, a user review and initial thoughts
- Remarkable Paper Pro Move after market cases, case alternatives
- Remarkable Paper Pro Move compatible Pens
Remarkable Paper Pro
- Want to learn more about the Remarkable Paper Pro aka Remarkable 3 vs Remarkable 2?
- Remarkable Paper Pro Case Alternative (save US$60 on the Remarkable Paper Pro!)
Remarkable v Kindle Scribe
- Want to read a comparison of the Remarkable 2 vs. Kindle Scribe, I wrote one here.
- Not interested in Remarkable? You can buy the Kindle Scribe on Amazon.
I have even more Remarkable tips and advice here.
Any and all advice, guides, and reviews are unbiased and based on my personal experience. If you buy through affiliate links, I may earn commissions, which helps support my website. This does not have an impact on posts or my opinion of any reviewed products. If you find this post helpful and want to say thanks, please buy me a coffee or take a look at my book on Amazon. It keeps this page ad-free. Thank you!